Initial one sec Permission Setup on Android
Step-by-step guide to setting up one sec on your Android device. Learn how to correctly grant the required Accessibility and App Overlay permissions to enable interventions for your distracting apps.
Last updated 4 months ago
Article Content:
Two permissions are generally required to set up one sec for Android: Accessibility Permission and App Overlay Permission.
💡 Note: The Accessibility permission provides the best user experience with one sec. If you prefer to use one sec without the Accessibility permission, you can grant the "App Usage" permission instead.
Step 1: Start the Accessibility Setup
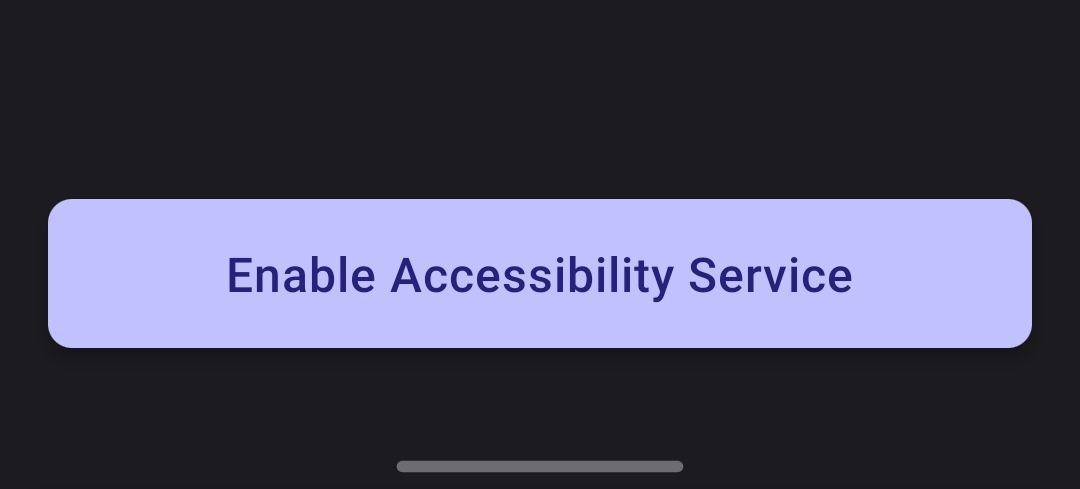
During the initial setup process of one sec, you'll be asked to enable the accessibility service. Proceed by tapping Enable Accessibility Service.
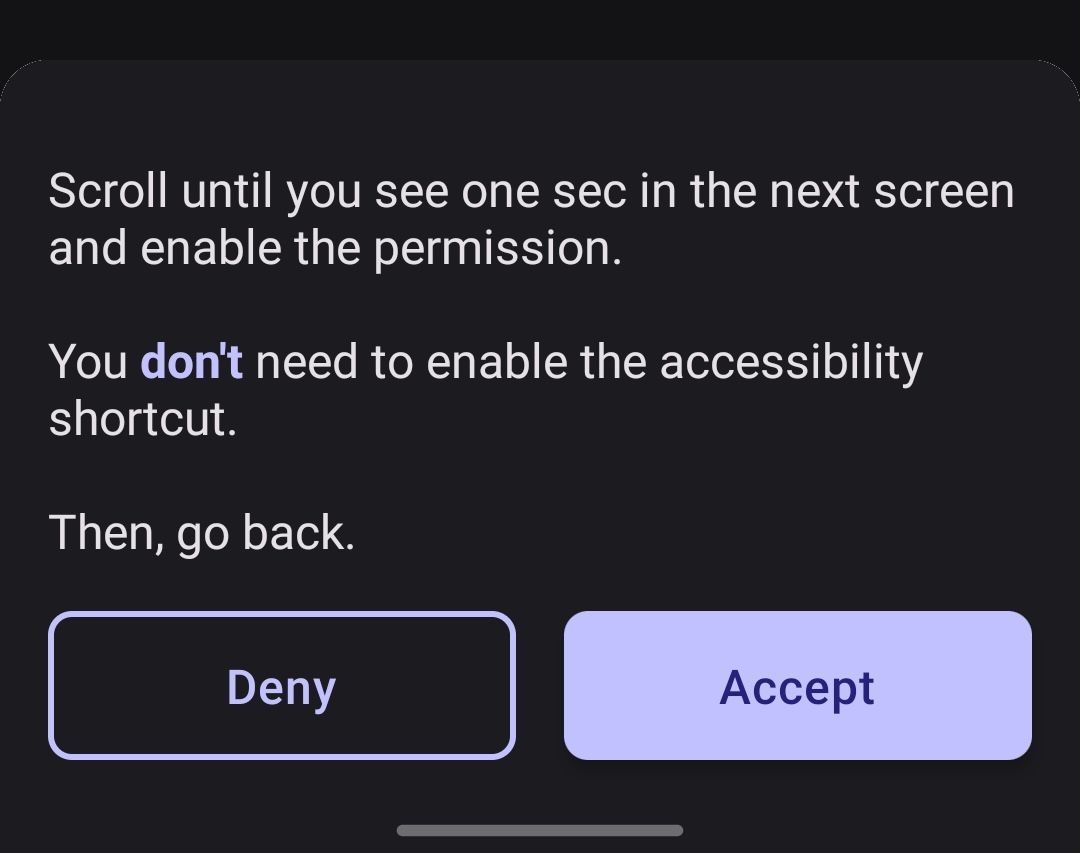
Select Accept on the next prompt to continue.
Step 2: Find "one sec" in your Settings
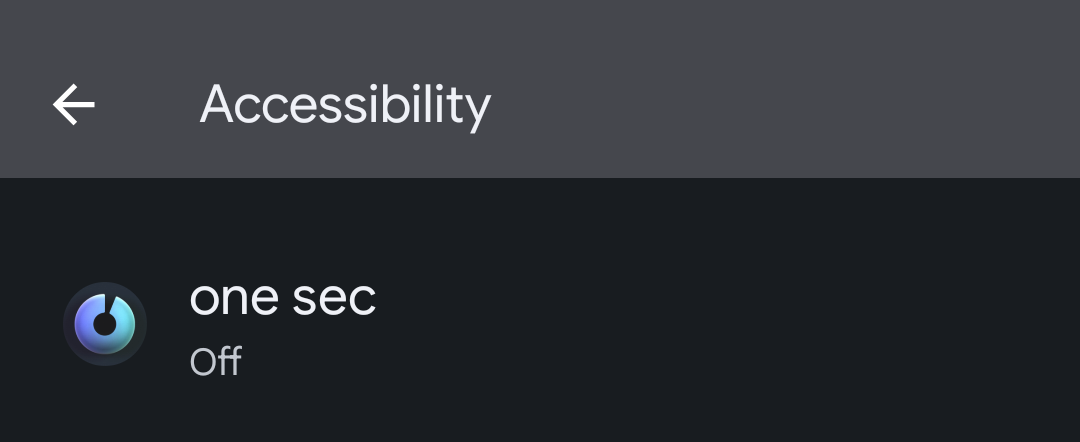
The next step will differ slightly depending on your Android version, but the goal is always to locate "one sec" in your device's Accessibility settings.
For Android 11 and newer: Scroll down in the accessibility menu and select one sec.
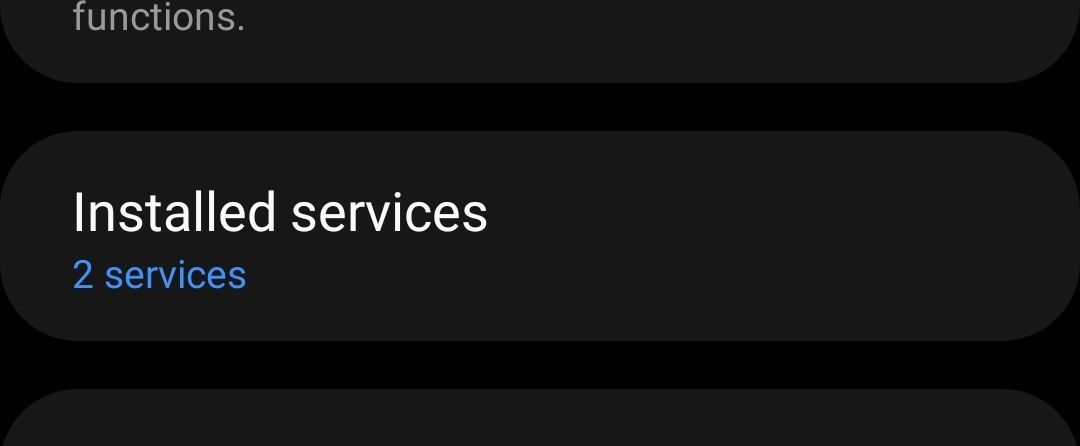
For older Android versions: The settings might look slightly different. Select Installed Services first, and then tap on one sec to continue.
Step 3: Enable the Toggle
Enable the main toggle for one sec. You might need to accept an additional security pop-up from your system.
⚠️ Important Note for newer Android versions: You might see a second toggle called "Accessibility Shortcut". Please ensure this toggle remains OFF / disabled.
Step 4: Grant Remaining Permissions
Once the accessibility permission has been granted, use the back button / back gesture on your phone until you reach the one sec main app again.
Here you will be prompted to grant additional permissions, such as the App Overlay permission. Follow the on-screen instructions to enable it.
Done!
After all permissions are successfully granted, you can continue to select the apps you'd like to use with one sec.